在这篇Unity C#的文章中,你将会创建一个简单的数据结构,然后写下它的属性抽屉。
下面你将会学到如何创建。
在此之前,你需要了解Unity的编辑器,以及Uinty C#的一些脚本。如果你已经学习了一些其它的课程,这将会让你更加容易上手。
这篇文章适合Unity 4.3或者以上的版本。老版本仍然可以在这里找到。
被压缩的色点
色点
Unity有很多种类的的数据类型,你可以用这些数据去制作很多自定义组件。但是有时我们需要一些小的自定义数据,它可以在很多地方使用。与其重复写同样的代码,倒不如选择一些可以重复使用,而且十分简单的封装数据类,例如一些内置的数据类型。
我们将要创建一些色点,这个数据结构是同时包括颜色和位置。
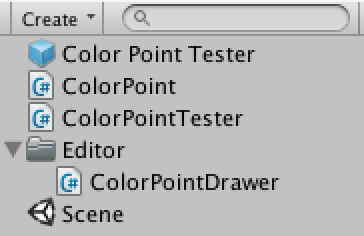
我们首先创建一个新的空项目工程,然后添加一个名为ColorPoint的新的C#脚本,同时添加所需的变量。
1 2 3 4 5 6 7monospace !important; font-size: 1em !important; font-style: normal !important; font-weight: normal !important; vertical-align: baseline !important; float: none !important; position: static !important; min-height: inherit !important; box-sizing: content-box !important; background-image: none !important;">using UnityEngine;
public class ColorPoint {
public Color color;
public Vector3 position;
}
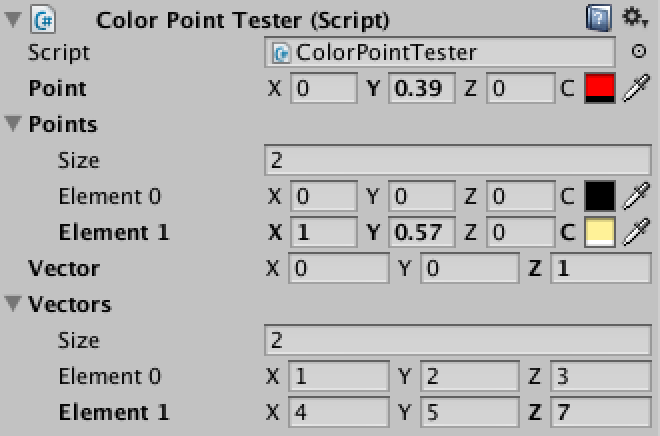
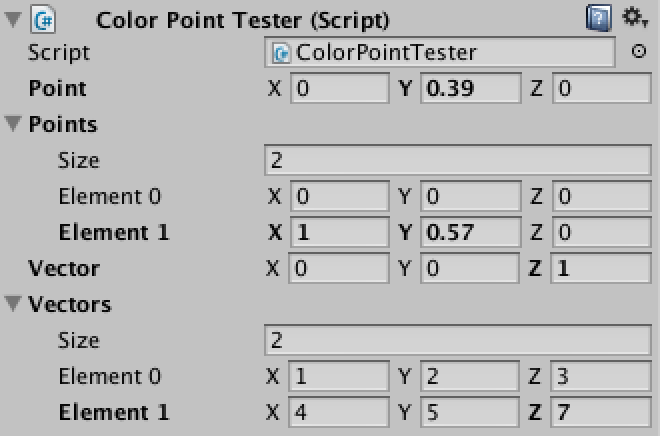
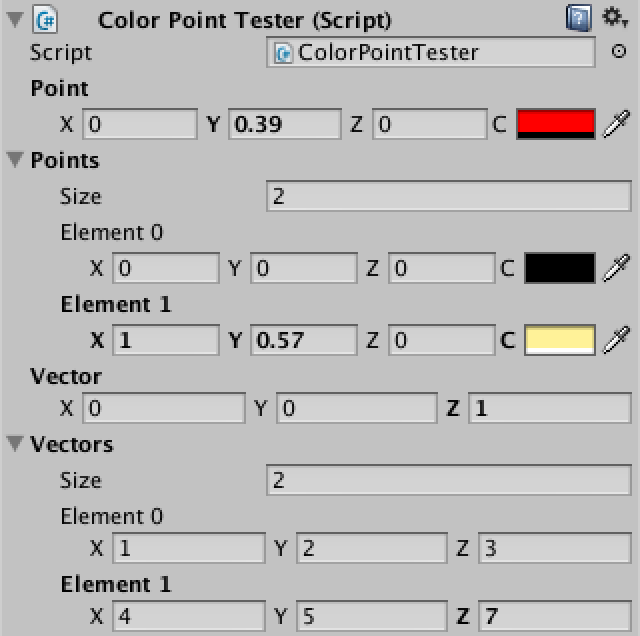
然后我们再创建一个叫ColorPointTester的类来测试我们刚刚创建的数据类型。我们给它一个单独的点向量和一个数组向量,同时也比较单独的点向量和数组向量。接着我们创建一个空的游戏物体,把它添加到里面。
1
2
3
4
5
6
7
8
9
10
11
12
using UnityEngine;
public class ColorPointTester : MonoBehaviour {
public ColorPoint point;
public ColorPoint[] points;
public Vector3 vector;
public Vector3[] vectors;
}

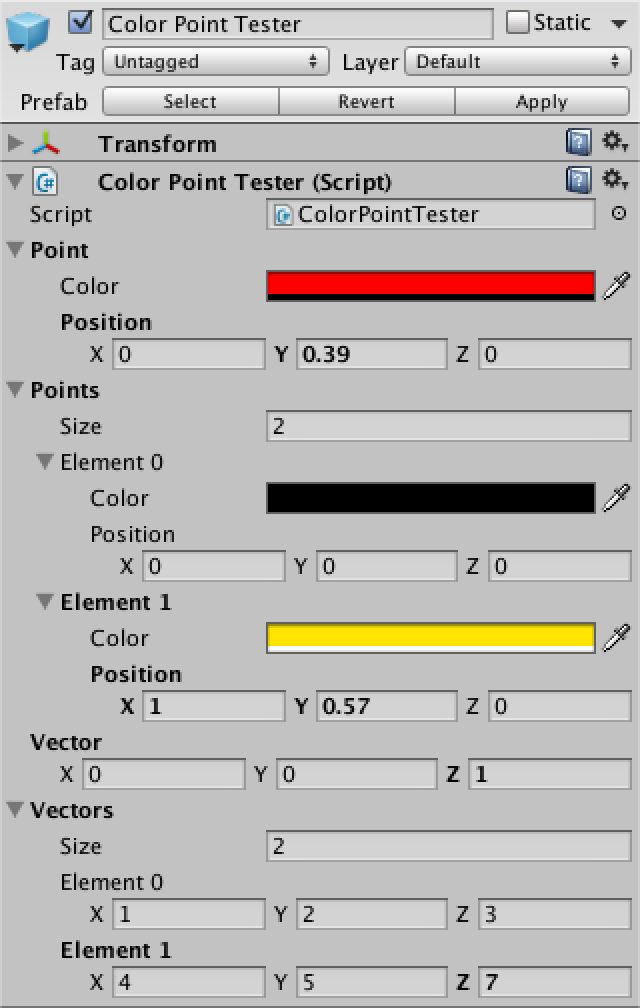
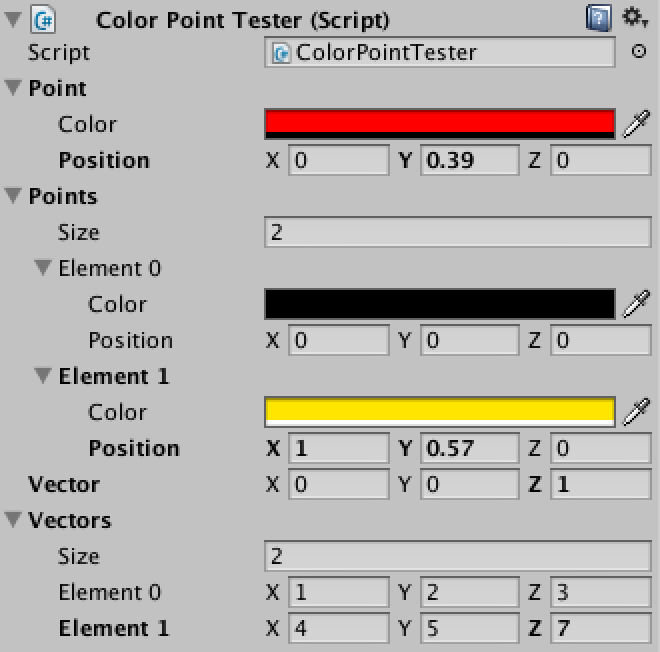
色点和空测试器。
新的数据类型不能在inspector中看到,因为他的内容还不能被保存。我们要解决这个问题就要把这个数据类型添加到系统中。被序列化后属于我们的类.在执行这步是,这个类可能要在所有公共地方的数据流可以序列化,然后才能被存储起来。
1 2 3 4 5 6 7 8 9using UnityEngine;
using System;
[Serializable]
public class ColorPoint {
public Color color;
public Vector3 position;
}
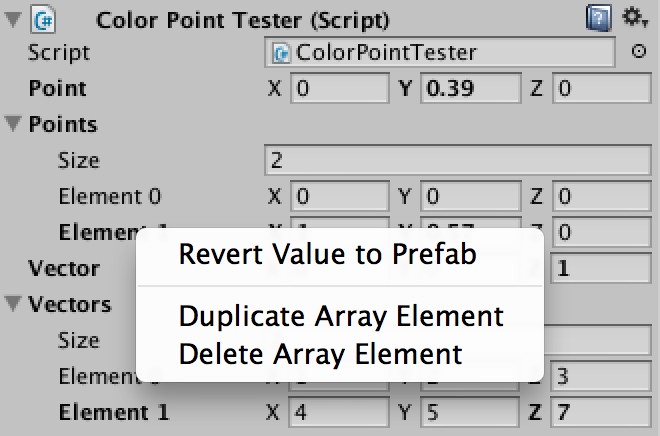
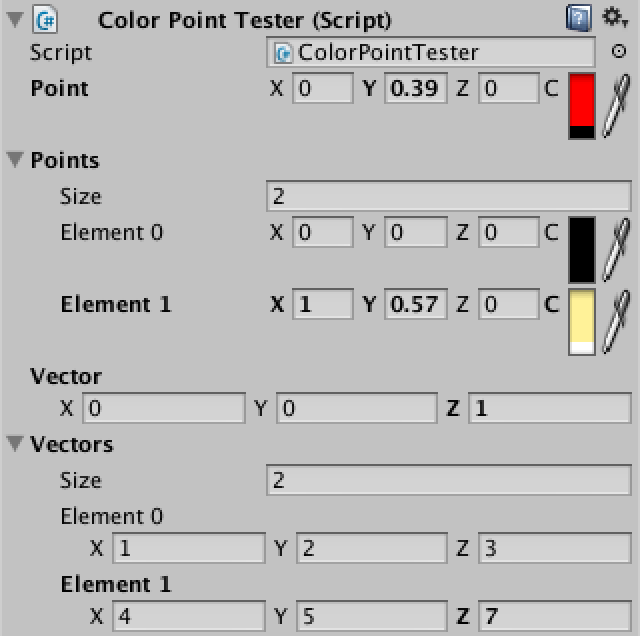
现在我们刚自定义的数据可以再inspector中显示了,我们可以再任何地方编辑、保存。同样的,把我们的测试对象通过拖拽到项目视图的预设中,然后在场景中改变一些变量的实例。这可以证明这类数据可以在预设中正常运行。


正常的对象和一个调整的实例预设。inspector看起来很混乱。这可以有所修改,让它通过拖动变宽一些,但如果它的宽度过大,向量将会崩溃。
一个充实的inspector。
绘图属性
很可惜,即使有较宽的inspector,我们仍需要多行色点。
幸运的是,我们可以用自定义的变量在编辑中替换Unity的默认绘图属性。这可以通过扩展UnityEditor.PropertyDrawer来创建一个类,同时用 UnityEditor.CustomPropertyDrawer来匹配我们想要绘制的相关内容。然后,命名一个叫ColorPointDrawer的类,因为这是一个编辑的类,我们会把它放在一个叫Editor新的文件夹里面。
1 2 3 4 5 6using UnityEditor;
using UnityEngine;
[CustomPropertyDrawer(typeof(ColorPoint))]
public class ColorPointDrawer : PropertyDrawer {
}

这是不做任何处理的属性抽屉。
现在inspector不再显示任何有用的东西,但是我们可以改变,通过覆盖在OnGUI上,来默认自定义版本的属性抽屉。
这个OnGUI方法有三个参数。第一个是一个巨型,它是告诉我们那些窗口的区域是应该使用什么来绘制属性。第二个是自身的属性,由一个SerializedProperty来表示。第三个是GUIContent,定义了我们应该使用的属性标签。
让我们首先用GUIEditor.PropertyField的方法找准位置,然后绘制GUIEditor.PrefixLabel。
1 2 3 4public override void OnGUI (Rect position, SerializedProperty property, GUIContent label) {
EditorGUI.PrefixLabel(position, label);
EditorGUI.PropertyField(position, property.FindPropertyRelative("position"));
}

属性抽屉的重叠标签。
当我们锁定位置后,它的标签就是重叠标签的色点。接下来,我们要通过用GUIContent.none.来重写它。
1 2 3 4public override void OnGUI (Rect position, SerializedProperty property, GUIContent label) {
EditorGUI.PrefixLabel(position, label);
EditorGUI.PropertyField(position, property.FindPropertyRelative("position"), GUIContent.none);
}

一个依旧重叠的标签
向量仍然是重叠标签,因为我们使用的是同样的位置矩形,接下来,我们将用这个矩形进行替换。
1 2 3 4public override void OnGUI (Rect position, SerializedProperty property, GUIContent label) {
Rect contentPosition = EditorGUI.PrefixLabel(position, label);
EditorGUI.PropertyField(contentPosition, property.FindPropertyRelative("position"), GUIContent.none);
}

即使不正确的定位,也不再重叠。
这看起来好了很多,但放置位置向量的数组元素太过于偏右。导致这个发生的原因是PropertyField方法调整当前的编辑器缩进级别。
通过静态初始化EditorGUI.indentLevel的方法,设置缩进的级别。为了暂时的消除自动缩进,我们只要将其设置为零即可。
1 2 3 4 5public override void OnGUI (Rect position, SerializedProperty property, GUIContent label) {
Rect contentPosition = EditorGUI.PrefixLabel(position, label);
EditorGUI.indentLevel = 0;
EditorGUI.PropertyField(contentPosition, property.FindPropertyRelative("position"), GUIContent.none);
}
正确定位
原文链接:http://catlikecoding.com/unity/tutorials/editor/custom-data/
修改Prefix
当prefix标签变成粗体,显示调整过的预制值时,它就无法进行任何操作。所以我们既不能立即恢复整个弹辨色点(color point),也不能轻易删除或复制prefix标签的数组元素。
我们需要在编辑器中设定属性生效的起始位置,因为目前我们仅仅展示了一部分内容。我们可以使用EditorGUI。利用BeginProperty类函数创建一个新标签,并标志着一个属性的出现,然后使用EditorGUI。利用EndProperty类函数表示属性的终止。这样我们就可以通过上下文菜单(context menu)获得拥有预期功能的标签。
1 2 3 4 5 6 7
public override void OnGUI (Rect position, SerializedProperty property, GUIContent label) {
label = EditorGUI.BeginProperty(position, label, property);
Rect contentPosition = EditorGUI.PrefixLabel(position, label);
EditorGUI.indentLevel = 0;
EditorGUI.PropertyField(contentPosition, property.FindPropertyRelative("position"), GUIContent.none);
EditorGUI.EndProperty();
}
恢复及数组功能支持
添加颜色
现在该设定颜色属性了。为了使其在一条线上,我们必须减少矢量所占空间。由于矢量由三部分组成而颜色作为其第四部分,我们将把向量置于前75%的水平空间,把颜色置于其余的25%空间中。我们也使用单字母命名颜色标签。
1 2 3 4 5 6 7 8 9 10 11
public override void OnGUI (Rect position, SerializedProperty property, GUIContent label) {
label = EditorGUI.BeginProperty(position, label, property);
Rect contentPosition = EditorGUI.PrefixLabel(position, label);
contentPosition.width *= 0.75f;
EditorGUI.indentLevel = 0;
EditorGUI.PropertyField(contentPosition, property.FindPropertyRelative("position"), GUIContent.none);
contentPosition.x += contentPosition.width;
contentPosition.width /= 3f;
EditorGUI.PropertyField(contentPosition, property.FindPropertyRelative("color"), new GUIContent("C"));
EditorGUI.EndProperty();
}

带颜色,但有误。
尽管我们的标签很短,但是它依然占据较多空间,导致颜色数据被挤到右侧。这是因为无论内容长短,标签宽度都是固定的。你可以通过调整EditorGUIUtility.labelWidth.改变标签宽度。设置14个像素的宽度效果更佳。
1 2 3 4 5 6 7 8 9 10 11 12
public override void OnGUI (Rect position, SerializedProperty property, GUIContent label) {
label = EditorGUI.BeginProperty(position, label, property);
Rect contentPosition = EditorGUI.PrefixLabel(position, label);
contentPosition.width *= 0.75f;
EditorGUI.indentLevel = 0;
EditorGUI.PropertyField(contentPosition, property.FindPropertyRelative("position"), GUIContent.none);
contentPosition.x += contentPosition.width;
contentPosition.width /= 3f;
EditorGUIUtility.labelWidth = 14f;
EditorGUI.PropertyField(contentPosition, property.FindPropertyRelative("color"), new GUIContent("C"));
EditorGUI.EndProperty();
}

尺寸正好的颜色标签。
索取额外一行
默认像素可以在单行与双行之间转变,这取决于inspector的宽度。我们也可以这么做。
我们必须覆盖GetPropertyHeight method,争取更多的垂直空间。一行的默认值是16个像素。再添加一行需要另外18个像素(包括第二行自身的16个像素及两行间距的2个像素)。
当我们使用inspector面板时,屏幕宽度实际上就包含它的宽度,所以我们可以利用这一点。当宽度减小到333以下时,像素会转换至多行,因此我们也要这么做。
1 2 3
public override float GetPropertyHeight (SerializedProperty property, GUIContent label) {
return Screen.width < 333 ? (16f + 18f) : 16f;
}
索取更多空间。
当我们把inspector宽度调小到一定程度时,就能获得更多的垂直空间。然而,我们尚且还不能这么做。为了实现这一目标,我们必须注意以下四点内容。
第一,通过检查position长方形的高度,可以发现我们正在使用双行。第二,我们需要将高度调回到16个像素,以便颜色属性能够保留在同一行。第三,画完属性标签后,我们必须将其下移一行。第四,通过利用EditorGUI IndentedRect method,我们必须增加一级缩进级别,将其应用至position。
1 2 3 4 5 6 7 8 9 10 11 12 13 14 15 16 17 18
public override void OnGUI (Rect position, SerializedProperty property, GUIContent label) {
label = EditorGUI.BeginProperty(position, label, property);
Rect contentPosition = EditorGUI.PrefixLabel(position, label);
if (position.height > 16f) {
position.height = 16f;
EditorGUI.indentLevel += 1;
contentPosition = EditorGUI.IndentedRect(position);
contentPosition.y += 18f;
}
contentPosition.width *= 0.75f;
EditorGUI.indentLevel = 0;
EditorGUI.PropertyField(contentPosition, property.FindPropertyRelative("position"), GUIContent.none);
contentPosition.x += contentPosition.width;
contentPosition.width /= 3f;
EditorGUIUtility.labelWidth = 14f;
EditorGUI.PropertyField(contentPosition, property.FindPropertyRelative("color"), new GUIContent("C"));
EditorGUI.EndProperty();
}
利用更多空间。
现在,我们对弹辨色点(color point)有了一个精彩简短的描述。它支持取消(undo),重写(redo),预制(prefabs)以及多目标编辑。如果inspector足够宽,它只占一行,否则,占两行。
接下来的editor教程涉及自定义列表(Custom List)。
已下载的数据资料
custom-data.unitypackage
已完成的项目。