大家都知道Http是无状态的协议,所以访问一个url,你并不能知道用户在之前是否已经登陆过。但是许多业务上的逻辑又离不开user的信息,这个时候就可以借助身份认证来记录当前user的登录状态。这其中Forms身份认证是最常见的身份认证。
这篇博客讲的内容就是结合一个最普通的MVC工程来讲解下Forms身份认证是怎么实现记录用户登录状态的。并说下怎么自定义一个身份认证。
Forms身份认证打开Visual Studio 2013,新建Asp.net web mvc application,选择Internet Application
建好之后,按F5就能看到新建的网站。
修改Index,cshtml:
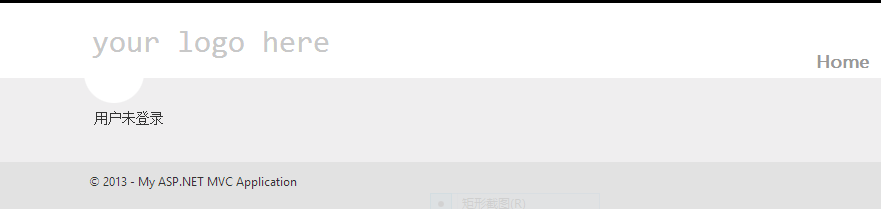
@if (Request.IsAuthenticated)
{
    <text>用户已登录:</text>
    @Context.User.Identity.Name
}
else
{
    <text>用户未登录</text>
}
运行之后,你能看到:
继续修改Index.cshtml
@if (Request.IsAuthenticated)
{
    <text>用户已登录:</text>
    @Context.User.Identity.Name
}
else
{
    <text>用户未登录</text>
    <form method="post" action="@Request.RawUrl">
        <input type="text" name="userName" />
        <input type="submit" value="Submit" />
    </form>
}
在对应的HomeController里加上对应的方法:
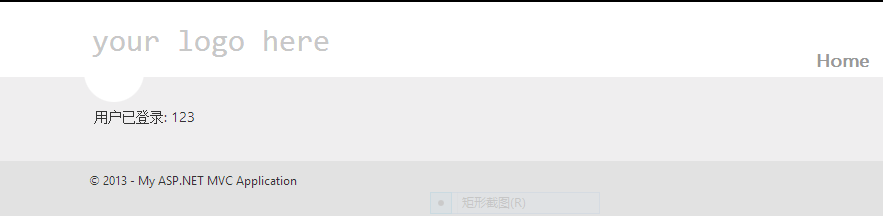
1 [HttpPost]
2 public ActionResult Index(string id)
3 {
4     string userName = Request.Params["userName"];
5     FormsAuthentication.SetAuthCookie(userName, true);
6     return Index();
7 }
按F5运行之后,在输入框内填上user name,运行之后的结果:
注意上述的结果都是在web.config里开启Forms认证的基础上
<authentication mode="Forms">
</authentication>
内部运行机理
Forms身份认证的核心类是FormsAuthenticationModule
它是一个http module,实现了接口IHttpModule,这个接口的主要方法:
Init(HttpApplication Context)
看FomrsAuthenticationModule的实现
 1         public void Init(HttpApplication app)
 2         {
 3             if (!_fAuthChecked)
 4             {
 5                 _fAuthRequired = AuthenticationConfig.Mode == AuthenticationMode.Forms;
 6                 _fAuthChecked = true;
 7             }
 8             if (_fAuthRequired)
 9             {
10                 FormsAuthentication.Initialize();
11                 app.AuthenticateRequest += new EventHandler(this.OnEnter);
12                 app.EndRequest += new EventHandler(this.OnLeave);
13             }
14         }
解释下代码,这个方法首先判断是否开启了Forms 认证,如果是Forms认证,就注册了两个HttpApplication管道事件AuthenticateRequest和EndRequest,继续看下
注册的AuthenticateRequest事件
1 HttpApplication application = (HttpApplication)source;
2 HttpContext context = application.Context;
3 this.OnAuthenticate(new FormsAuthenticationEventArgs(context));
找到了最核心的方法OnAuthenticate
由于此方法比较长,笔者只摘录出最核心的几句话
FormsAuthenticationTicket tOld = ExtractTicketFromCookie(e.Context, FormsAuthentication.FormsCookieName, out cookielessTicket);
e.Context.SetPrincipalNoDemand(new GenericPrincipal(new FormsIdentity(ticket), new string[0]));
可以看出最核心的方法是Forms module从http context中的Cookie中解析出FormsAuthenticationTicket对象,然后new出来FormsIdentity,最后传给HttpContext
module一般都是注册Application管道事件,在事件里实现自己的核心处理,比如MVC,也是Module,实现自己的UrlRoutingModule,注册ResolveRequestCache事件
拓展:AuthorizationAuthorization可以控制user对网站的访问权限,比如哪种user可以访问哪种资源
在上述的工程web.config里加上
    <authentication mode="Forms">
      <forms loginUrl="~/Home/Index"/>
    </authentication>
    <authorization>
      <deny users="?"/>
    </authorization>
deny users="?"代表只有登录用户才可以访问网站
于此对应的还有allow users="*" 允许任何用户可以访问
此类功能是UrlAuthorizationModule 实现,在此不在赘述,实现方式和FormsAuthenticationModule方式大同小异。
自定义身份认证在某些业务功能里,需要cookie记住的功能不仅仅是user name,比如remember me功能,这个时候就可以用自定义身份认证来实现。
至于实现方式,既然已经知道Forms身份认证怎么实现,完全可以比葫芦画瓢实现自己需要的认证
下面写一个简单的实例
首先仿照FormsAuthenticationModule,注册AuthenticateRequest事件
 1         protected void Application_AuthenticateRequest()
 2         {
 3             HttpContext context = HttpContext.Current;
 4             if (!context.Request.RawUrl.Equals("/"))
 5             {
 6                 HttpCookie cookie = context.Request.Cookies["CustomCookie"];
 7                 string[] strs = cookie.Value.Split('x');
 8                 bool rememberMe = Convert.ToInt32(strs[1]) == 1 ? true : false;
 9                 HttpContext.Current.User = new CustomPrincipal(new CustomIdentity(strs[0], rememberMe));
10             }
11         }
标注:
context.Request.RawUrl.Equals("/") 此句是简单的将Index.cshtml作为登录页面,实际应用中当然需要修改下。
其中CustomPrincipal和CustomIdentity类的代码如下
 1     public class CustomPrincipal : IPrincipal
 2     {
 3         private IIdentity identity;
 4
 5         public CustomPrincipal(IIdentity identity)
 6         {
 7             this.identity = identity;
 8         }
 9
10         public IIdentity Identity
11         {
12             get { return identity; }
13         }
14
15         public bool IsInRole(string role)
16         {
17             throw new NotImplementedException();
18         }
19     }
20
21     public class CustomIdentity : IIdentity
22     {
23
24         private string name;
25         private bool rememberMe;
26
27         public CustomIdentity(string name, bool rememberMe)
28         {
29             this.name = name;
30             this.rememberMe = rememberMe;
31         }
32
33         public string AuthenticationType
34         {
35             get { return string.Empty; }
36         }
37
38         public bool IsAuthenticated
39         {
40             get { return true; }
41         }
42
43         public string Name
44         {
45             get { return name; }
46         }
47     }
Index.cshtml继续作为登录页面,对应的登录方法:
 1         [HttpPost]
 2         public ActionResult Index(string id)
 3         {
 4             string userName = Request.Params["userName"];
 5             HttpCookie cookie = new HttpCookie("CustomCookie");
 6             cookie.Value = userName + "x" + 1.ToString();
 7             cookie.Expires = DateTime.Now.AddHours(1);
 8             System.Web.HttpContext.Current.Response.SetCookie(cookie);
 9             return RedirectToAction("About");
10         }
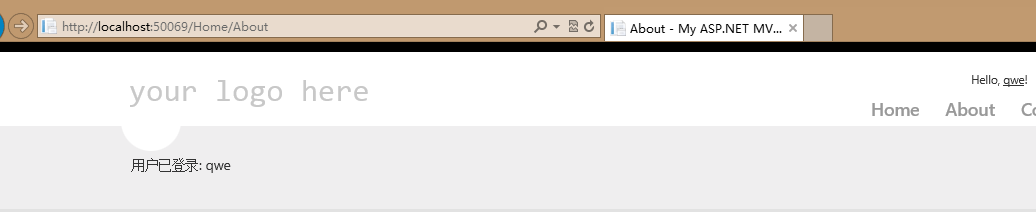
About.cshtml作为判断是否登录的页面
1 @if (Request.IsAuthenticated)
2 {
3     <text>用户已登录:</text>
4     @Context.User.Identity.Name
5 }
6 else
7 {
8     <text>用户未登录</text>
9 }
最后运行结果:
到此,整篇博客已结束,许多地方说的还是比较简单抽象,望理解。