首先关于异步加载图片可以参见 夏安明 的博客:http://blog.csdn.net/xiaanming/article/details/9825113
这篇文章最近有了新的更改,大概看了一下,内容更完善了。而我参考他之前的代码,发现了很多与内存有关的问题,这里记录一下发现的问题和解决方法。
本文地址:http://www.cnblogs.com/rossoneri/p/4284478.html
首先上个功能图:
1.本地图片浏览器做成对话框的形式,可以显示文件夹
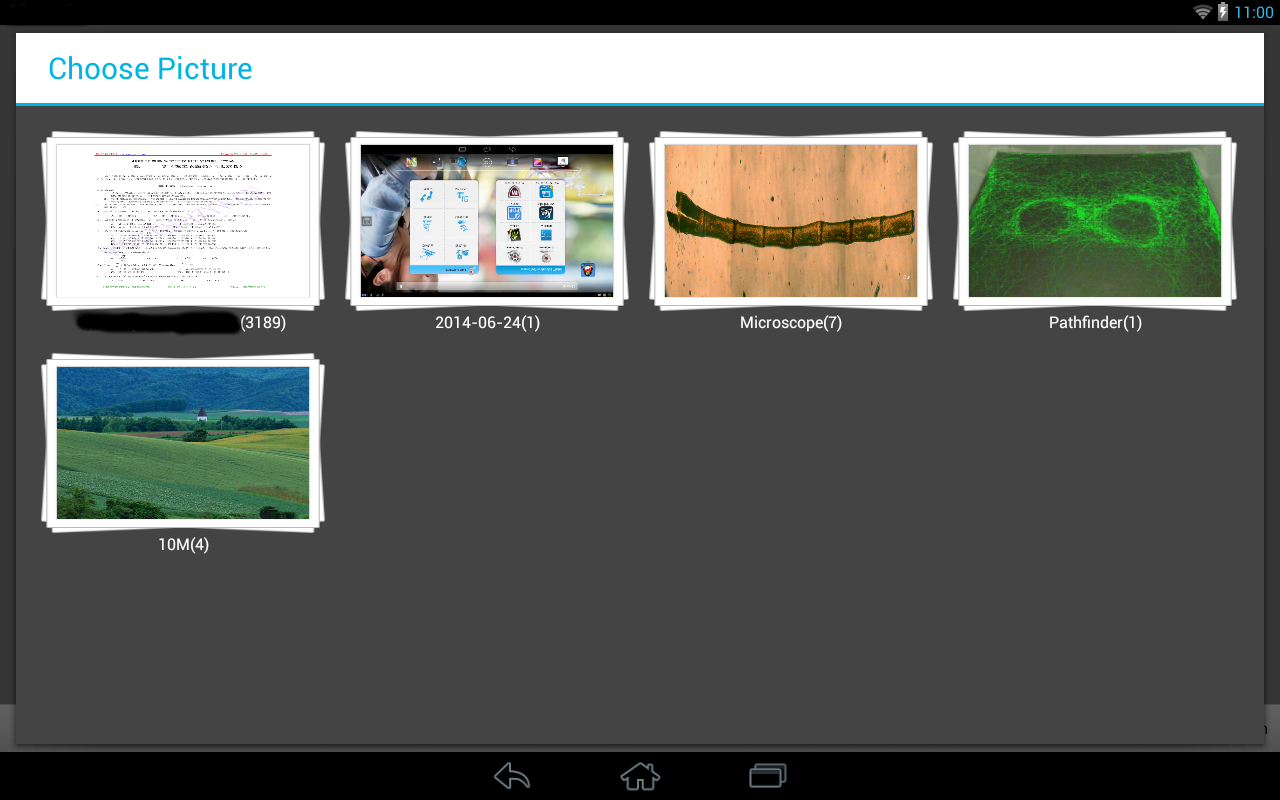
2. 图片支持多选
3. 图片点开可以大图浏览
4.用 ViewPager 来添加图片左右连续浏览效果
OK,看完可以大概了解了具体的功能。
可以想到,整个过程需要处理显示大量的图片,图片虽然可以选择在不显示的时候回收掉,但有很多地方有返回操作,为了操作效果的流畅,不可能点一次返回就加载一次。尤其是viewPager的地方,加载的是清楚的大图,左右滑动过程也是要预先加载相邻的图片,如果左右滑动次数多的话,就要保存一定数量的加载过的图片,这些过程都需要考虑内存消耗。说实话,一开始做完这个图片浏览器后,程序经常因为oom崩掉,在经过一番优化后,现在已经没有程序崩溃的情况出现了。整个过程学习到了很多东西,现在好好梳理一边记下来。
首先关于Android线程
当你第一次启动一个Android程序的时候,一个叫做“main”的线程就被自动创建了,这个主线程也叫做UI线程。它非常重要,因为它负责分配事件给相应的控件,包括绘图事件。它也是你与控件交互的线程。比如说,一旦你点击屏幕上的一个按钮,UI线程就会派发触摸事件到控件上,控件就会设置为按下的状态并且传递一个invalidate请求(根据invalidate()方法应该是刷新界面请求)。UI线程再将请求弹出消息队列并让控件重新绘制自己。
这个单线程模式可以导致Android应用程序体验性降低。一旦所有的事件都在一个线程中进行耗时的操作,比如说在这个线程上进行网络连接,数据库访问,会阻塞程序的界面响应。在长时间的后台操作中,没有事件会被派发,包括绘图事件。从用户角度来看,应用出现了停顿。更糟糕的是,如果UI线程被阻塞一段时间(大概5秒),用户就会看到臭名昭著的“程序无反应”的对话框了。
Whenever you first start an Android application, a thread called "main" is automatically created. The main thread, also called the UI thread, is very important because it is in charge of dispatching the events to the appropriate widgets and this includes the drawing events. It is also the thread you interact with Android widgets on. For instance, if you touch the a button on screen, the UI thread dispatches the touch event to the widget which in turn sets its pressed state and posts an invalidate request to the event queue. The UI thread dequeues the request and notifies the widget to redraw itself.

This single thread model can yield poor performance in Android applications that do not consider the implications. Since everything happens on a single thread performing long operations, like network access or database queries, on this thread will block the whole user interface. No event can be dispatched, including drawing events, while the long operation is underway. From the user's perspective, the application appears hung. Even worse, if the UI thread is blocked for more than a few seconds (about 5 seconds currently) the user is presented with the infamous "application not responding" (ANR) dialog.

http://android-developers.blogspot.jp/2009/05/painless-threading.html
翻译太渣,点我看原文
所以考虑到UI线程的流畅性,整个过程还需要考虑使用多线程进行异步加载图片。
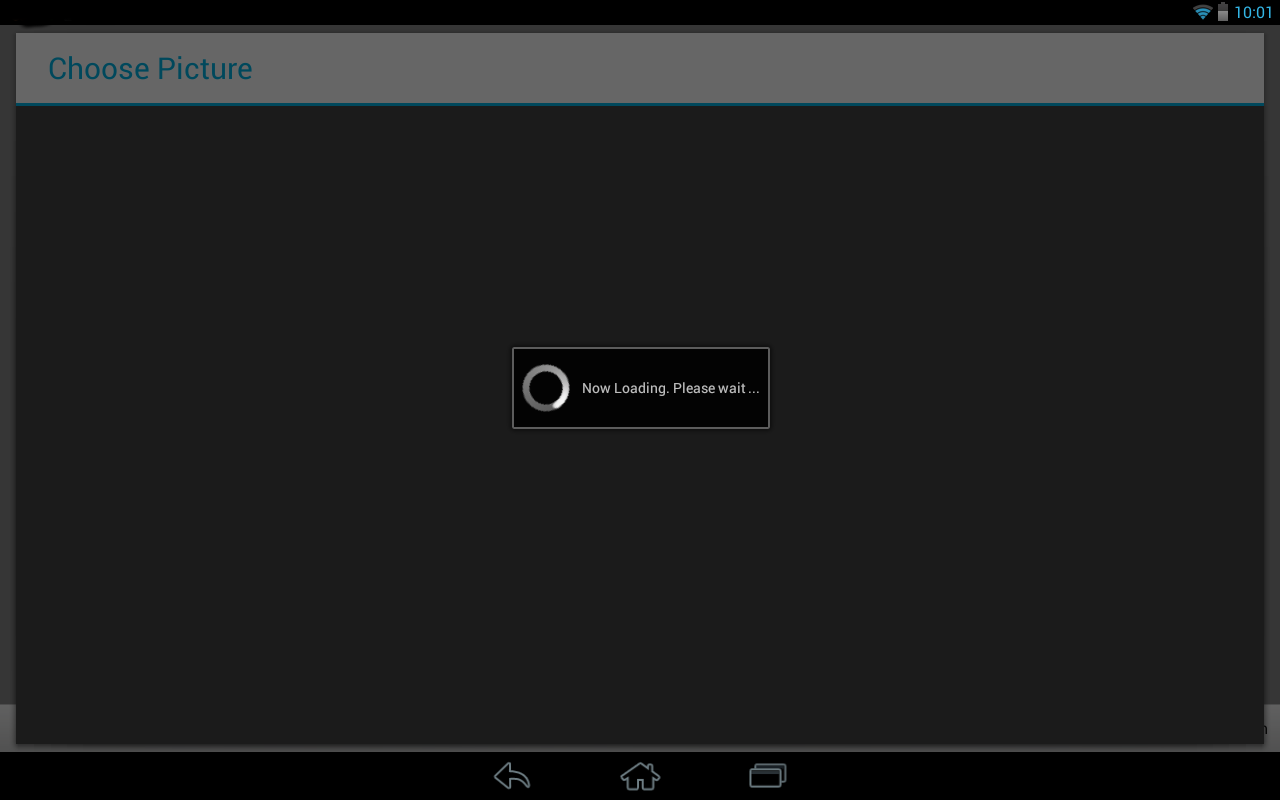
另外在打开图片浏览器的时候需要进行图片查询,所以在主界面上增加了progress dialog使其更加友好,如图:
下面上一些关键代码,结合代码来说优化内存的方法:
对话框就在打开图片浏览器的时候显示即可
mProgressDialog = ProgressDialog.show(mActivity, null, mActivity.getResources().getString(R.string.pic_selector_progressdlg), true);// 显示读图进度条
于此同时,开启线程查询本地图片,查询完成后发出消息

 1 new Thread(new Runnable() {
 2     @Override
 3     public void run() {
 4         Uri mImageUri = MediaStore.Images.Media.EXTERNAL_CONTENT_URI;// 外部存储的url
 5         ContentResolver mContentResolver = mActivity.getContentResolver();// 创建ContentResolver实例
 6
 7         Cursor mCursor = mContentResolver.query(
 8                 mImageUri,
 9                 null, // 从URL中查找相关类型的文件保存并用cursor指向它
10                 MediaStore.Images.Media.MIME_TYPE + "=? or " + MediaStore.Images.Media.MIME_TYPE + "=?",
11                 new String[] { "image/jpeg", "image/png" },
12                 MediaStore.Images.Media.DATE_MODIFIED);
13
14         while (mCursor.moveToNext()) {
15             // 获取图片路径
16             String path = mCursor.getString(mCursor.getColumnIndex(MediaStore.Images.Media.DATA));
17
18             // 说明1
19             File file = new File(path);
20             if (file.exists()) {
21                 // get folder name
22                 String folder = new File(path).getParentFile().getName();
23
24                 // put image in to HashMap according to the folder name
25                 if (!mFolderMap.containsKey(folder)) {
26                     List<String> childList = new ArrayList<String>();
27                     childList.add(path);
28                     mFolderMap.put(folder, childList);
29                 } else {
30                     mFolderMap.get(folder).add(path);
31                 }
32             }
33
34         }
35         mCursor.close();
36         mHandler.sendEmptyMessage(SCAN_OK);
37     }
38 }).start();
查询图片路径并按文件夹分类
关于说明1:因为Android系统的Gallary会在开机之后对本地的文件做一次查找统计,这个统计只有一次,所以会导致一个问题:开机之后你可以浏览所有存在的图片,当你删除某一张图片后,你会看不见这张图,但这张图的路径信息还在系统中保存,所以我使用cursor进行本地查询的时候也还是可以得到这张删除的图片的路径的,但这个路径无法显示图片,所以我用
File file = new File(path);
if (file.exists()) {  ...   }
来处理图片不存在的情况。至于怎么刷新这个系统保存有路径的信息,我也找到了方法,往后会专门写下来记录一下。
查询到图片路径之后,就根据文件夹来分开保存在不同的HashMap里的List<String>中。
查询完毕发送消息,收到消息后关闭对话框,gridview显示文件夹
private Handler mHandler = new Handler() {
    @Override
    public void handleMessage(Message msg) {
        super.handleMessage(msg);
        switch (msg.what) {
            case SCAN_OK:
                mProgressDialog.dismiss();
                mFolderAdapter = new FolderAdapter(mActivity, mList = subGroupOfImage(mFolderMap), mGridShowFolder);
                mGridShowFolder.setAdapter(mFolderAdapter);
                break;
        }
    }
};
响应消息
有了路径就要使用异步加载图片了,也就是在用户滑动gridview或者listview的时候,给新的内容加载图片,并释放掉划出屏幕的图片(如果内存占满的话)。我在网上看的资料大多讲Android默认分给虚拟机中图片的堆栈大小只有8M。至于8M的概念,其实是在默认情况下android进程的内存占用量为16M,因为Bitmap他除了java中持有数据外,底层C++的 skia图形库还会持有一个SKBitmap对象,因此一般图片占用内存推荐大小应该不超过8M。这个可以调整,编译源代码时可以设置参数。[参见这里]
总之是一块非常小的内存,那么要显示图片就需要对图片进行一些处理。
一些处理意见:
自定义一些处理图像的选项
BitmapFactory.Options options = new BitmapFactory.Options();
获得option对象后,有以下处理方法:
options.inJustDecodeBounds = true;
BitmapFactory.decodeFile(path, options);
options.inJustDecodeBounds = false;
设置为true后,表示解析Bitmap对象,该对象不占内存。然后解析path路径对应的图片,图片尺寸保存在 options.outWidth 和 options.outHeight 中。
这个方法主要是想不占用任何内存的情况下获得要显示图片的尺寸来进行缩放比例的计算。
 1 /**
 2  * 根据View(主要是ImageView)的宽和高来计算Bitmap缩放比例。默认不缩放
 3  *
 4  * @param options
 5  * @param width
 6  * @param height
 7  */
 8 private int computeScale(BitmapFactory.Options options, int viewWidth, int viewHeight) {
 9     int inSampleSize = 1; // 默认缩放比例1 即不缩放
10     if (viewWidth == 0 || viewHeight == 0) { // 如果宽高都为0 即不存在 返回1
11         return inSampleSize;
12     }
13     int bitmapWidth = options.outWidth;// 获得图片的宽和高
14     int bitmapHeight = options.outHeight;
15
16     // 假如Bitmap的宽度或高度大于我们设定图片的View的宽高,则计算缩放比例
17     if (bitmapWidth > viewWidth || bitmapHeight > viewWidth) {
18         int widthScale = Math.round((float) bitmapWidth / (float) viewWidth);
19         int heightScale = Math.round((float) bitmapHeight / (float) viewWidth);
20
21         // 为了保证图片不缩放变形,我们取宽高比例最小的那个
22         inSampleSize = widthScale < heightScale ? widthScale : heightScale;
23     }
24     return inSampleSize;
25 }
计算缩放比例的方法
获得缩放比例后就可以使用这个比例来显示缩略图,这样就可以节省不少内存。
 1 private Bitmap loadBitmap(String path, int n) {    //n 缩放比例
 2     InputStream inputStream = null;
 3     if (!path.isEmpty()) {
 4         try {
 5             inputStream = new FileInputStream(path);
 6         } catch (FileNotFoundException e) {
 7             // TODO Auto-generated catch block
 8             e.printStackTrace();
 9         }
10     }
11
12     BitmapFactory.Options opts = new BitmapFactory.Options();
13     opts.inPreferredConfig = Bitmap.Config.RGB_565; // 减小画面的精细度,每个像素占内存减少
14     opts.inPurgeable = true; // 可以被回收
15     opts.inInputShareable = true;
16     if (n != 0) {
17         opts.inSampleSize = n;
18     }
19     Bitmap bmp = BitmapFactory.decodeStream(inputStream, null, opts);
20     return bmp;
21 }
使用获得的缩放比例显示缩略图
这里生成bitmap的时候用到了几个BitmapFactory.Options的属性
用到的属性说明如下:
If this is non-null, the decoder will try to decode into this
 internal configuration. If it is null, or the request cannot be met,
 the decoder will try to pick the best matching config based on the
 system's screen depth, and characteristics of the original image such
 as if it has per-pixel alpha (requiring a config that also does).

Image are loaded with the  Bitmap.Config.ARGB_8888} config by default.

//Bitmap.Config   Because of the poor quality of ARGB_4444, it is advised to use {@link #ARGB_8888} instead.
private static Config sConfigs[] = {
            null, ALPHA_8, null, RGB_565, ARGB_4444, ARGB_8888
};
inPreferredConfig位图的精细度,即每个像素的色彩位数,节省内存还是低点好。
Deprecated. As of android.os.Build.VERSION_CODES.LOLLIPOP, this is ignored. In android.os.Build.VERSION_CODES.KITKAT and below, if this is set to true, then the resulting bitmap will allocate its pixels such that they can be purged if the system needs to reclaim memory. In that instance, when the pixels need to be accessed again (e.g. the bitmap is drawn, getPixels() is called), they will be automatically re-decoded.

For the re-decode to happen, the bitmap must have access to the encoded data, either by sharing a reference to the input or by making a copy of it. This distinction is controlled by inInputShareable. If this is true, then the bitmap may keep a shallow reference to the input. If this is false, then the bitmap will explicitly make a copy of the input data, and keep that. Even if sharing is allowed, the implementation may still decide to make a deep copy of the input data.

While inPurgeable can help avoid big Dalvik heap allocations (from API level 11 onward), it sacrifices performance predictability since any image that the view system tries to draw may incur a decode delay which can lead to dropped frames. Therefore, most apps should avoid using inPurgeable to allow for a fast and fluid UI. To minimize Dalvik heap allocations use the inBitmap flag instead.

Note: This flag is ignored when used with decodeResource(Resources, int, android.graphics.BitmapFactory.Options) or decodeFile(String, android.graphics.BitmapFactory.Options).
inPurgeable 位图是否能被回收,KITKAT及以下版本可用.建议用inBitmap
Deprecated. As of android.os.Build.VERSION_CODES.LOLLIPOP, this is ignored. In android.os.Build.VERSION_CODES.KITKAT and below, this field works in conjuction with inPurgeable. If inPurgeable is false, then this field is ignored. If inPurgeable is true, then this field determines whether the bitmap can share a reference to the input data (inputstream, array, etc.) or if it must make a deep copy.inInputShareable 配合inPurgeable使用
If set to a value > 1, requests the decoder to subsample the original image, returning a smaller image to save memory. The sample size is the number of pixels in either dimension that correspond to a single pixel in the decoded bitmap. For example, inSampleSize == 4 returns an image that is 1/4 the width/height of the original, and 1/16 the number of pixels. Any value <= 1 is treated the same as 1. Note: the decoder uses a final value based on powers of 2, any other value will be rounded down to the nearest power of 2.inSampleSize设置缩放比例,长宽都缩为1/n,所以n建议是2的次方数
通过这些设置,可以降低缩略图的内存占用。
生成缩略图后可以用LruCache保存图片。如果用到图片的时候可以先从这里读,读不到了再根据路径生成图片。
// 获取应用程序的最大内存
final int maxMemory = (int) (Runtime.getRuntime().maxMemory() / 1024);

// 用最大内存的1/8来存储图片
final int cacheSize = maxMemory / 8;
mMemoryCache = new LruCache<String, Bitmap>(cacheSize) {

    // 获取每张图片的大小
    @Override
    protected int sizeOf(String key, Bitmap bitmap) {
        return bitmap.getRowBytes() * bitmap.getHeight() / 1024;
    }
};
/**
 * 往内存缓存中添加Bitmap
 *
 * @param key
 * @param bitmap
 */
private void addBitmapToMemoryCache(String key, Bitmap bitmap) {
    if (getBitmapFromMemCache(key) == null && bitmap != null) {
        mMemoryCache.put(key, bitmap);
    }
}

/**
 * 根据key来获取内存中的图片
 *
 * @param key
 * @return
 */
private Bitmap getBitmapFromMemCache(String key) {
    return mMemoryCache.get(key);
}
当然在某些操作之后,为了避免可能的oom,可以选择把这部分内存清掉,这就在于自己程序设计的策略了
public void clearCache(){
    mMemoryCache.evictAll();
}
ViewPager的优化
viewpager的每一项item都在instantiateItem中处理
@Override
public Object instantiateItem(ViewGroup container, int position) {
}
其显示策略是 根据你点击的 position 提前加载 position-1 和 position+1的item,就是为了左右滑动时可以看起来流畅。
比如我点击了第7个item,pagerAdapter就会同时加载 6,7,8 进去,我向右滑到8, 6就删除掉,加载9进来。然后我再左滑,9删掉,重新加载6。
这里就考虑到我在左右浏览图片的时候,有些加载过的图可以保存在一部分内存中,每次加载前查找一下内存,查到的图片就不再单独生成bitmap了。
@Override
public Object instantiateItem(ViewGroup container, int position) {
    // TODO Auto-generated method stub

    long beforeTime = System.currentTimeMillis();

    PicBrowser_ViewPagerItem itemView;
    if (mHashMap.containsKey(position)) {
        String path = mPathList.get(position);
        itemView = mHashMap.get(position);
        itemView.setShowHeight(itemHeight);
        itemView.reload(path, position);

        Log.d("TIME", "reload time: " + (System.currentTimeMillis() - beforeTime) + " position:" + position);
    } else {
        itemView = new PicBrowser_ViewPagerItem(mContext, mMemoryCacheForBmp);
        itemView.setShowHeight(itemHeight);
        String path = mPathList.get(position);
        Bitmap bmp = mMemoryCache.get(path);

        itemView.setData(path, bmp, position);
        // Log.v("viewpager", "setData:" + position);
        mHashMap.put(position, itemView);
        ((ViewPager) container).addView(itemView);

        Log.d("TIME", "setData time: " + (System.currentTimeMillis() - beforeTime) + " position:" + position);
    }

    clearHashMap(position);

    return itemView;

}
内存有直接reload()图片,没有就setData()生成图片
但这样的话同一时间就会加载多张大图在内存中(我根据操作情况保存了8张)。像平板这样的大屏幕,显示一张大尺寸的bitmap很消耗内存,更何况8张,所以这里一定要优化。
优化的思路很简单,就是加载item的时候用前面的方法生成缩略图 ,缩放比例我直接用4。保存也保存缩略图。当点开item查看的时候,先加载缩略图并放大到窗口显示,加载完毕后再开线程生成要显示的大图。这样最后的效果就是浏览的时候是一张比较模糊的图,但很快这张图就变得十分清晰。
这里还有最后一个问题就是,比如我的显示范围是 500 x 500,比它小的图肯定要缩放到这个尺寸(图片比例不变),但比它大的图用setImageBitmap(mBitmap)放进去后会自动适应大小,那我还要不要对大图尺寸处理一下呢?
一定要。因为不管自动适应的尺寸有多大,系统生成bitmap是根据你给的尺寸生成的,而且生成bitmap占的内存大小是和图片尺寸成正比的。虽然可能一张2000x2000的图片可能才不到100kb,但这个尺寸生成的bitmap可有 2000 x 2000 x 2byte(RGB_565)这么大,快8M了吧,很容易就oom了。所以这个尺寸一定要处理好。
最后就是在某些操作结束后记得把 hashmap啊 list啊 内存啊都清掉,bitmap也要recycle掉,防止内存泄漏(别觉得java无所谓...看看强引用弱引用软引用...)
至少到目前为止我的程序没有再出现OOM的现象了。
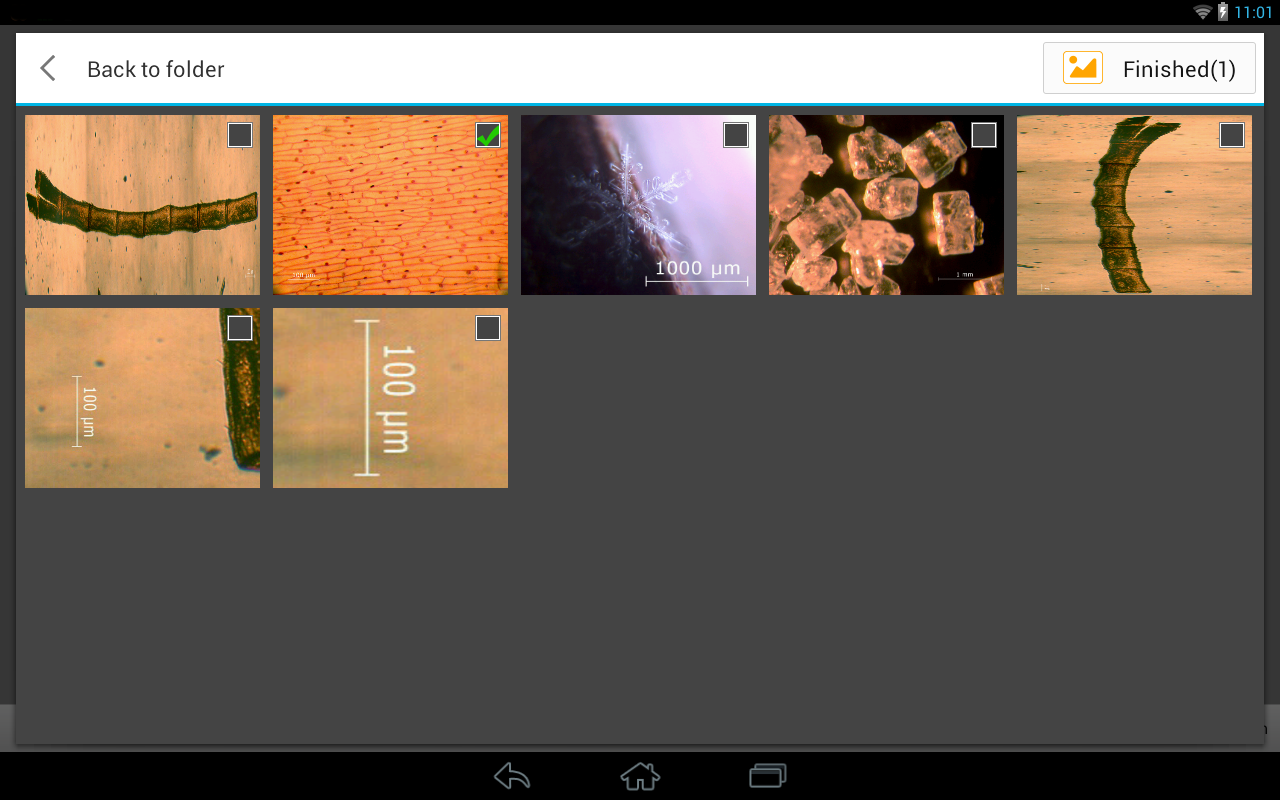
最最后,还有一个体验可以优化的地方,就是第二张效果图的地方。在那个界面,如果图片很多的情况下是可以上下滑动浏览的。之前的异步加载就是在这里用到的,每次滑动就把屏幕外的图片回收掉,把进入屏幕的图片加载显示。但有个问题就是如果快速滑动,比如我一下滑到第200个item的地方,它就会从第1张到200张全部加载并删除一遍,而我就得在200的位置等待前面一个个加载一遍(如图),很讨厌。

所以我就想能不能在快速滑动的时候不加载图片,等停了之后在从当前位置加载。这样省时间,也避免了不可知的情况。还好在源码里找到了相关接口。
在gridview的adapter添加:
 1 mGridView.setOnScrollListener(new OnScrollListener() {
 2
 3     @Override
 4     public void onScrollStateChanged(AbsListView view, int scrollState) {
 5         // TODO Auto-generated method stub
 6         Log.v("SCROLL", "onScrollStateChanged");
 7         switch (scrollState) {
 8         case OnScrollListener.SCROLL_STATE_IDLE: //stop
 9             isScrolling = false;
10             notifyDataSetChanged();
11             break;
12         case OnScrollListener.SCROLL_STATE_TOUCH_SCROLL:
13             isScrolling = false;
14             notifyDataSetChanged();
15             break;
16         case OnScrollListener.SCROLL_STATE_FLING: //  scrolling
17             isScrolling = true;
18             break;
19         }
20     }
21
22     @Override
23     public void onScroll(AbsListView view, int firstVisibleItem, int visibleItemCount, int totalItemCount) {
24         // TODO Auto-generated method stub
25         Log.v("SCROLL", "onScroll");
26     }
27 });
在getView中添加
1 @Override
2 public View getView(final int position, View convertView, ViewGroup parent) {
3   ...
4     if(!isScrolling){
5         // add pics
6     }else{
7         // add default image
8     }   ...
9 }
okay,这样就好了。这个功能也不知道别人怎么实现的,我能想到的就是这样了。
暂时能想到大概就是这些过程,如果有错误也请指出,有遗漏也请补充。
参考资料:
Android完美解决GridView异步加载图片和加载大量图片时出现Out Of Memory问题
解决 bitmap size exceeds VM budget (Out Of Memory 内存溢出)的问题
BaseAdapter中重写getview的心得以及发现convertView回收的机制
[Android] ListView中getView的原理+如何在ListView中放置多个item
![[Android] 对自定义图片浏览器经常内存溢出的一些优化](/Upload/SmallIMG/2015031715/31D604EFA4077093.png)


