帧布局(FrameLayout)直接继承了ViewGroup组件;
帧布局容器为每一个加入其中的组件都创建了一个空白的区域,这个区域我们称之为一帧,所有每个组件都占据一帧,这些都会根据gravity属性执行自动对齐。
FrameLayout的常用XML属性及相关的方法:
XML属性 相关方法 说明 android:foreground setForeground(Drawable) 设置该帧布局容器的前景图像 android:foregroundGravity setForegroundGravity(int) 定义绘制前景图像的gracity属性
下面用一个霓虹灯效果的例子来看看帧布局的效果:
layout/main.xml
 1 <?xml version="1.0" encoding="utf-8"?>
 2 <FrameLayout xmlns:android="http://schemas.android.com/apk/res/android"
 3     android:orientation="vertical"
 4     android:layout_width="fill_parent"
 5     android:layout_height="fill_parent"
 6     >
 7 <!-- 依次定义7个TextView,先定义的TextView位于底层
 8     后定义的TextView位于上层 -->
 9 <TextView android:id="@+id/View01"
10     android:layout_width="wrap_content"
11     android:layout_height="wrap_content"
12     android:width="210px"
13     android:height="50px"
14     android:background="#ff0000"
15     />
16 <TextView android:id="@+id/View02"
17     android:layout_width="wrap_content"
18     android:layout_height="wrap_content"
19     android:width="180px"
20     android:height="50px"
21     android:background="#dd0000"
22     />
23 <TextView android:id="@+id/View03"
24     android:layout_width="wrap_content"
25     android:layout_height="wrap_content"
26     android:width="150px"
27     android:height="50px"
28     android:background="#bb0000"
29     />
30 <TextView android:id="@+id/View04"
31     android:layout_width="wrap_content"
32     android:layout_height="wrap_content"
33     android:width="120px"
34     android:height="50px"
35     android:background="#990000"
36     />
37 <TextView android:id="@+id/View05"
38     android:layout_width="wrap_content"
39     android:layout_height="wrap_content"
40     android:width="90px"
41     android:height="50px"
42     android:background="#770000"
43     />
44 <TextView android:id="@+id/View06"
45     android:layout_width="wrap_content"
46     android:layout_height="wrap_content"
47     android:width="60px"
48     android:height="50px"
49     android:background="#550000"
50     />
51 <TextView android:id="@+id/View07"
52     android:layout_width="wrap_content"
53     android:layout_height="wrap_content"
54     android:width="30px"
55     android:height="50px"
56     android:background="#330000"
57     />
58 </FrameLayout>
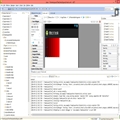
在GrapHical Layout模式下的效果图:
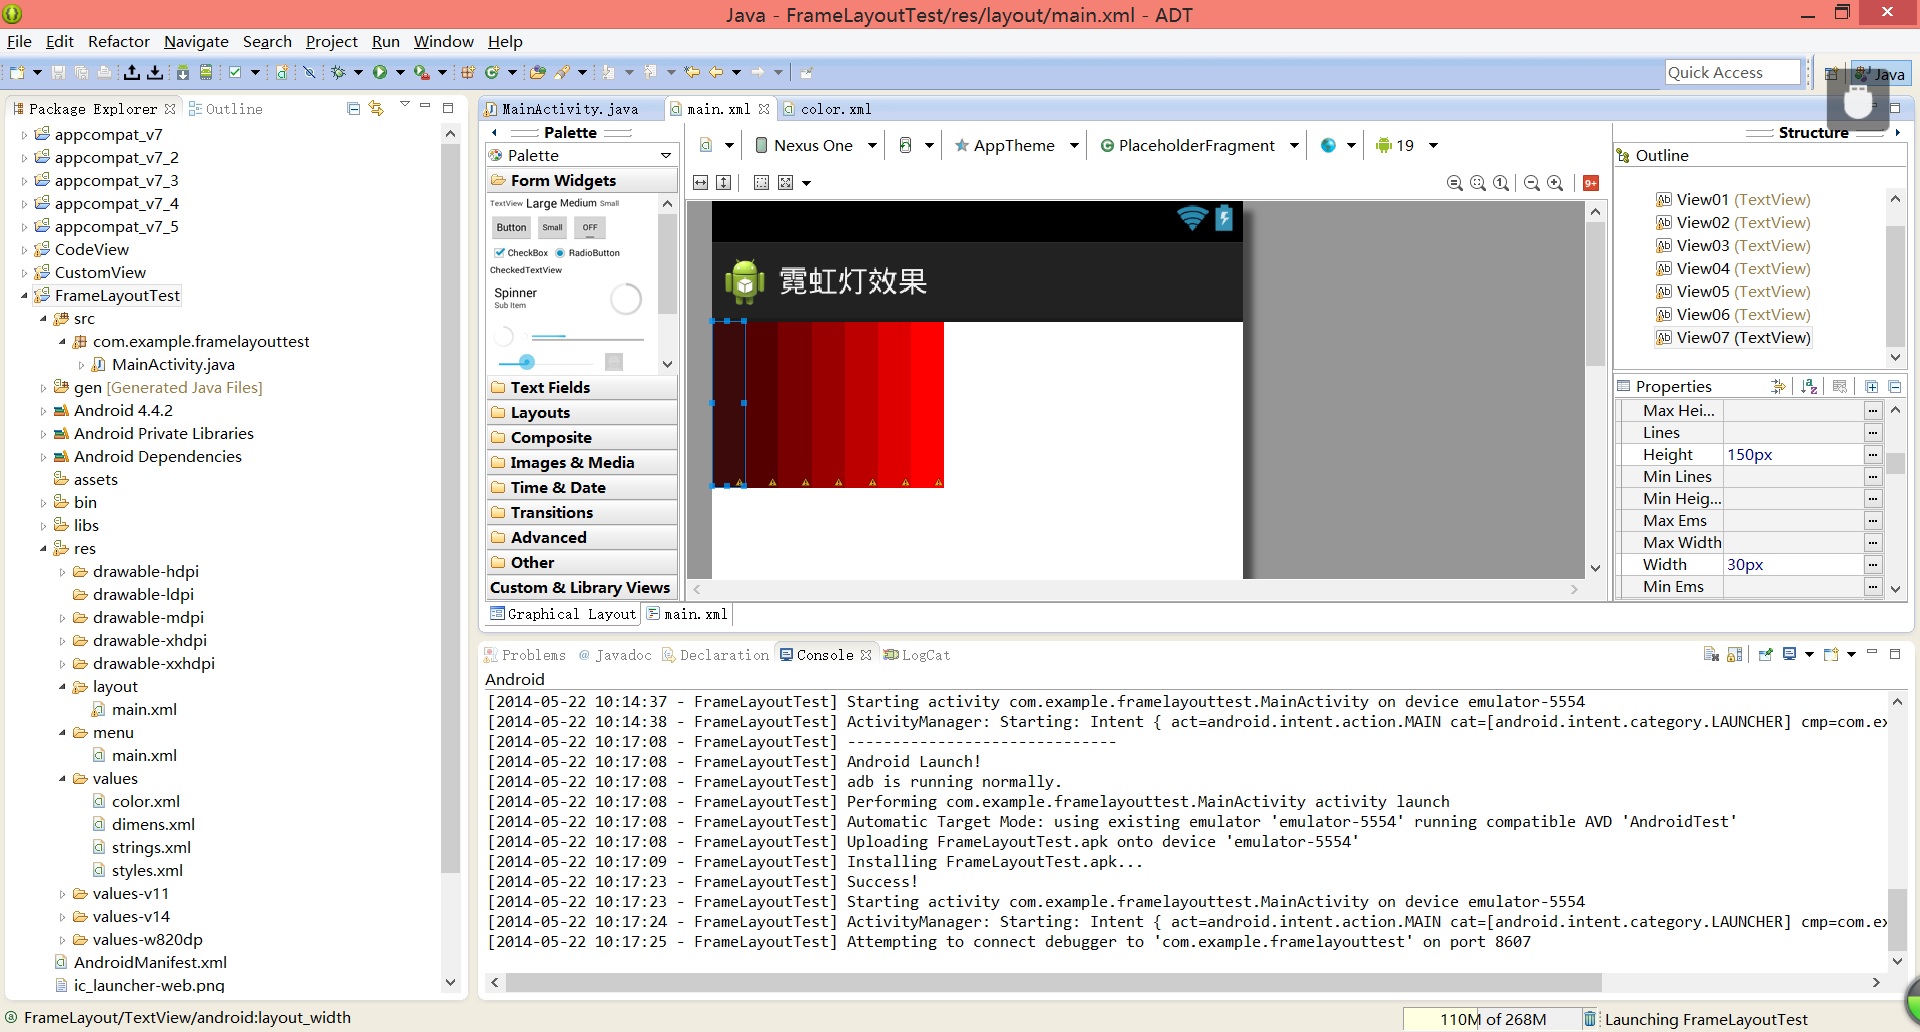
上面的界面布局定义使用了FrameLayout,并向改布局添加了7个高度相同但宽度逐渐减少的TextView。
我们既然做的是霓虹灯,那就不能少了颜色。在values文件夹下面我们还定义了一个color.xml文件用来存放霓虹灯的所需的颜色[如上图所示]
Values/color.xml
 1 <?xml version="1.0" encoding="utf-8"?>
 2 <resources>
 3     <color name="color1">#330000</color>
 4     <color name="color2">#550000</color>
 5     <color name="color3">#770000</color>
 6     <color name="color4">#990000</color>
 7     <color name="color5">#bb0000</color>
 8     <color name="color6">#dd0000</color>
 9     <color name="color7">#ff0000</color>
10 </resources>
下面我们来看看主程序,主程序使用了上面的FrameLayout布局管理器,只是程序启动了一条线程来控制周期性的改变7个TextView背景颜色,从而达到霓虹灯的效果。
com.example.framelayouttest.MainActivity.java
 1 package com.example.framelayouttest;
 2
 3 import java.util.Timer;
 4 import java.util.TimerTask;
 5
 6 import android.support.v7.app.ActionBarActivity;
 7 import android.support.v7.app.ActionBar;
 8 import android.support.v4.app.Fragment;
 9 import android.os.Bundle;
10 import android.os.Handler;
11 import android.os.Message;
12 import android.view.LayoutInflater;
13 import android.view.Menu;
14 import android.view.MenuItem;
15 import android.view.View;
16 import android.view.ViewGroup;
17 import android.widget.TextView;
18 import android.os.Build;
19
20 public class MainActivity extends ActionBarActivity {
21
22     private int currentColor = 0;
23     //定义一个颜色数组
24     final int [] colors = new int[]{
25             R.color.color7,
26             R.color.color6,
27             R.color.color5,
28             R.color.color4,
29             R.color.color3,
30             R.color.color2,
31             R.color.color1,
32     };
33
34
35     final int [] names = new int[]{
36             R.id.View01,
37             R.id.View02,
38             R.id.View03,
39             R.id.View04,
40             R.id.View05,
41             R.id.View06,
42             R.id.View07,
43     };
44
45     TextView[] views = new TextView[7];
46     @Override
47     protected void onCreate(Bundle savedInstanceState) {
48         super.onCreate(savedInstanceState);
49         setContentView(R.layout.main);
50         //首先拿到7个TextView
51         for (int i = 0 ; i < 7 ; i++)
52         {
53             views[i] = (TextView)findViewById(names[i]);
54         }
55         //Handler为android系统的线程通信工具,承担着主线程与分线程,分线程之间的通信功能
56         final Handler handler = new Handler(){
57             @Override
58             public void handleMessage(Message msg) {
59                 //表明消息来自本程序所发送;what表示什么事,when表示什么时候
60                 if (msg.what == 0x1122) {
61                     //依次改变7个TextView的背景色
62                     for (int i = 0; i <  7 - currentColor ; i++) {
63                         views[i].setBackgroundResource(colors[i+currentColor]);
64                     }
65                     for (int i = 7 - currentColor,j = 0 ; i < 7; i++,j++) {
66                         views[i].setBackgroundResource(colors[j]);
67                     }
68                 }
69
70                 super.handleMessage(msg);
71             }
72         };
73
74         //定义一个线程周期性的改变currentColor变量值,第二个参数0表示无延迟,第三个参数表示延迟多久1000表示一秒
75         new Timer().schedule(new TimerTask() {
76
77             @Override
78             public void run() {
79                 currentColor ++;
80                 if (currentColor >=6) {
81                     currentColor=0;
82                 }
83                 //发送一条消息通知系统改变7个TextView组件的背景色
84                 Message m = new Message();
85                 //给该消息定义一个标识
86                 m.what = 0x1122;
87                 handler.sendMessage(m);
88             }
89         }, 0, 100);;
90
91
92     }
93
94 }
上面程序定义了一个每0.1秒执行一次任务线程,该任务改变了currentColor的值然后想handler发送了一条消息通知他更新7个textView的背景色。
才接触Android的人也许会想我一样会有点疑问:为什么不直接在run里面直接更新TextView的背景色。
我查了一下才知道Android的view和UI组件不是线程安全的,所以Android不允许开发者启动线程访问用户界面的UI组件。所以程序额外定义了一个Handler来处理TextView背景色的更新。