我们经常使用github上的开源项目,使用步骤也很简单
比如:
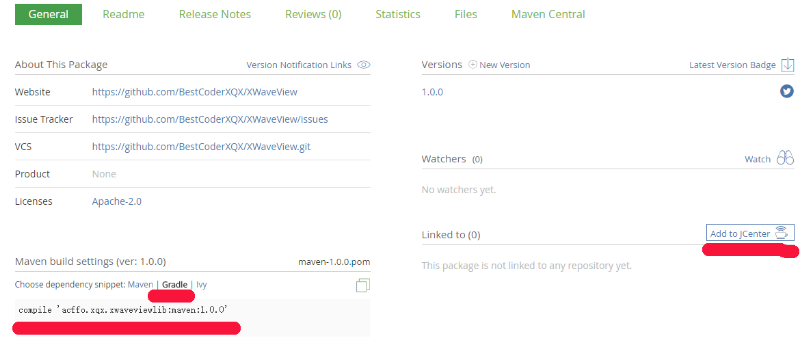
compile 'acffo.xqx.xwaveviewlib:maven:1.0.0'
这里就学习一下如何将自己的类库做出这种可以供他人使用的开源项目。
一、Android studio项目准备
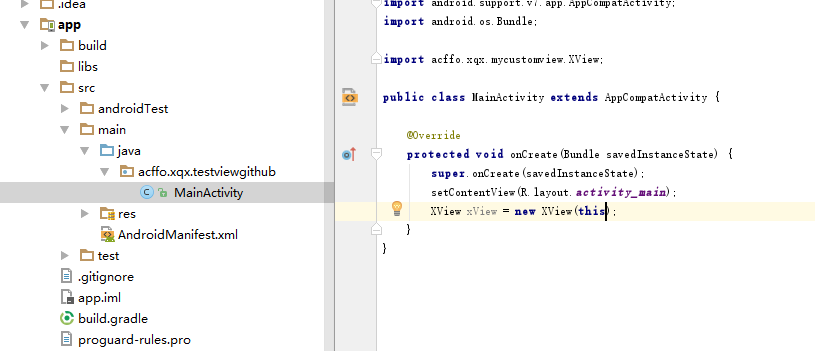
这时候我们想写了一个自定义控件,想要传到github上让别人使用。
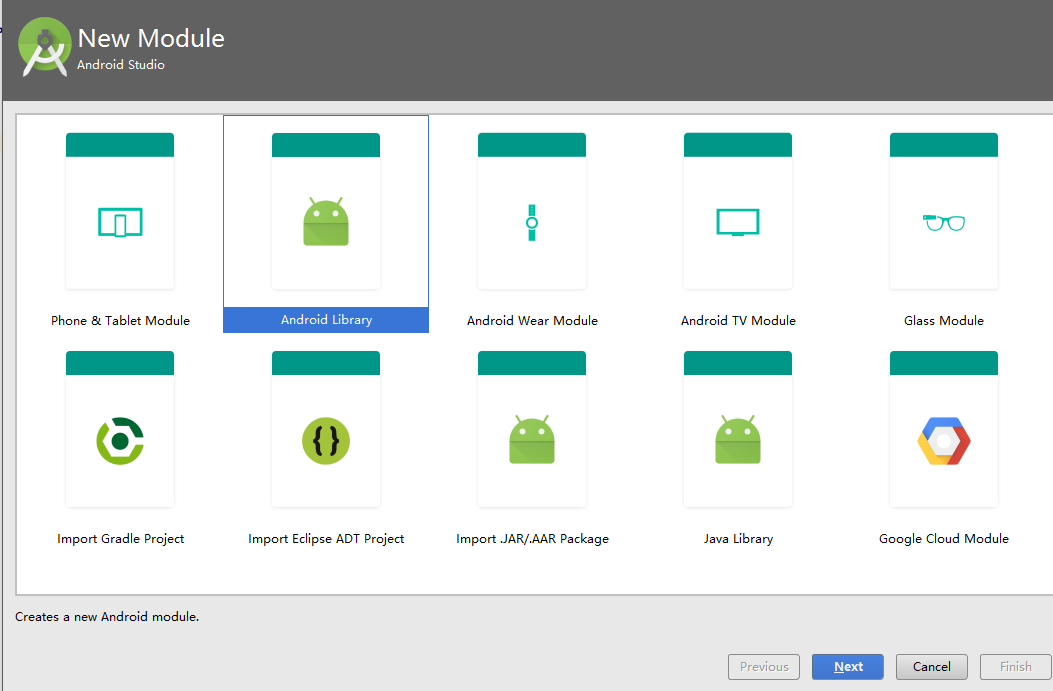
1、先在该项目下创建一个Module

2、选择Android Library
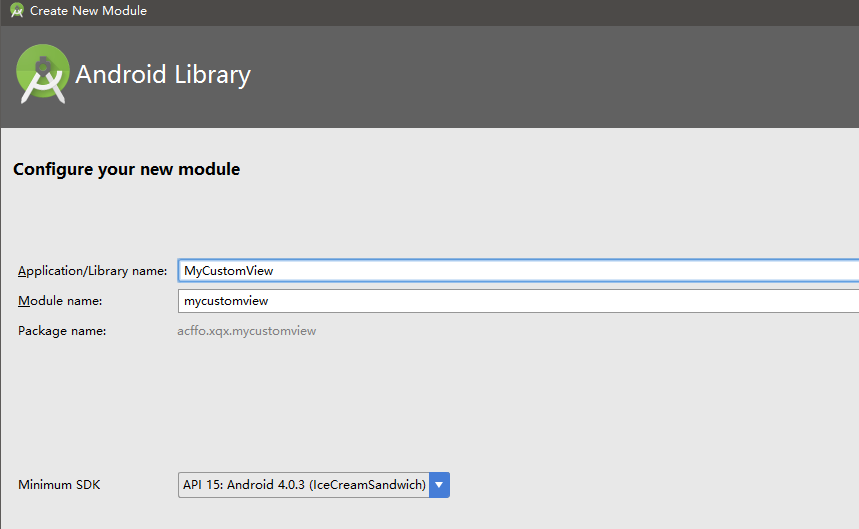
3、填写类库名称
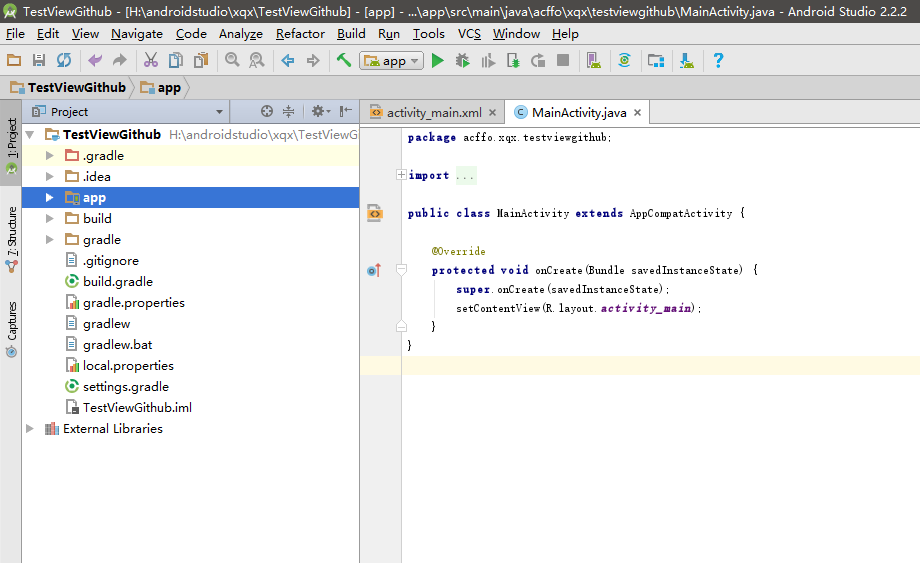
4、此时的目录结构
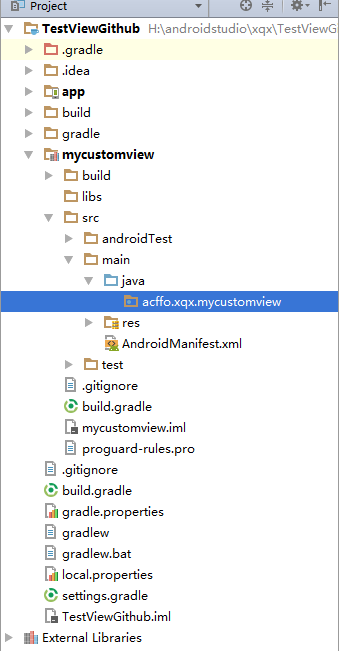
注意,开源出去的是library类库,所以需要在类库中写自定义控件或者其他代码,而不是在app目录下
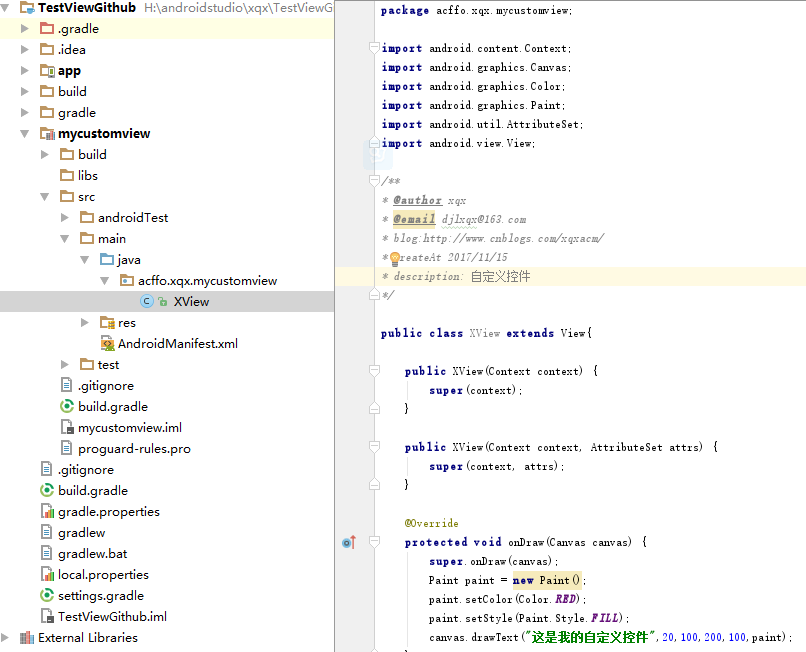
5、创建一个自定义控件View
6、在app目录下 写使用该类库的相关示例代码 ,让app依赖该类库
二、Bintray准备
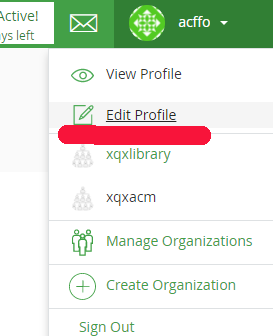
1、首先创建一个Bintray账号,注册地址 https://bintray.com/signup/oss 注意这是个人账号注册,很多文章给的链接是公司账号注册。
有个注意点:邮箱不能是163的 也许还有别的也不能使用,建议使用谷歌的gmail邮箱。
2、创建找好成功之后,选择创建组织
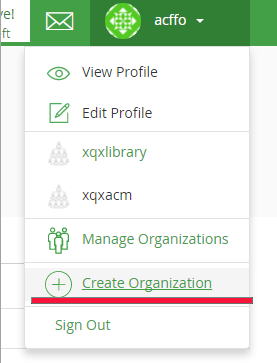
可以看到已经创建好的组织
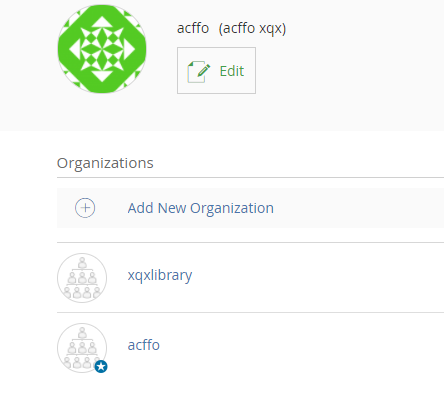
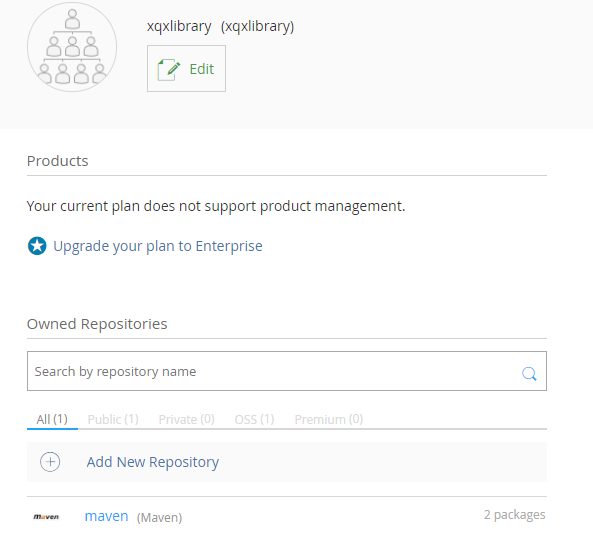
3、选择进入一个,比如我进入xqxlibrary组织 ,然后界面如下,再继续点击创建仓库
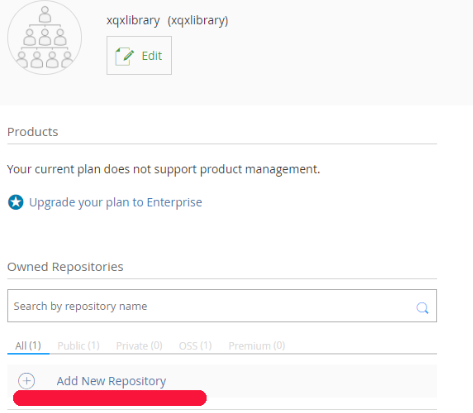
4、创建仓库界面如下

创建完成之后可以看到xqxlibrary组织下多了一个仓库
5、最后我们要记录一下自己的Bintray用户名 和 API Key 值,Android studio配置的时候需要

复制API Key
三、Android Studio 项目 配置
1、根目录下的build.gradle 配置
在 dependencies{} 中添加
classpath 'com.novoda:bintray-release:0.3.4'
在allprojects中添加:
  tasks.withType(Javadoc) {
        options.addStringOption('Xdoclint:none', '-quiet')
        options.addStringOption('encoding', 'UTF-8')
    }
最终如下:
buildscript {
    repositories {
        jcenter()
    }
    dependencies {
        classpath 'com.android.tools.build:gradle:2.2.2'
        classpath 'com.novoda:bintray-release:0.3.4'
    }
}

allprojects {
    repositories {
        jcenter()
    }
    tasks.withType(Javadoc) {
        options.addStringOption('Xdoclint:none', '-quiet')
        options.addStringOption('encoding', 'UTF-8')
    }
}
2、module目录下的build.gradle 配置
(1)、最顶端添加代码
apply plugin: 'maven'
apply plugin: 'com.novoda.bintray-release'
(2)、Bintray配置资料区
//添加
publish {
    userOrg = 'xqxlibrary'        // 组织名
    groupId = 'acffo.xqx.mycustomview'  //类库的包名
    artifactId = 'maven'       // 工程名 ,自定义
    publishVersion = '1.0.0'         //版本号
    desc = '波浪流动效果' //描述
    website = 'https://github.com/BestCoderXQX/XWaveView' //github地址  你可以把你的项目push到你的github上 , 项目的地址即这个地址
}
全部代码:

apply plugin: 'com.android.library'
apply plugin:  'maven'
apply plugin: 'com.novoda.bintray-release'

android {
    compileSdkVersion 25
    buildToolsVersion "25.0.3"

    defaultConfig {
        minSdkVersion 15
        targetSdkVersion 25
        versionCode 1
        versionName "1.0"

        testInstrumentationRunner "android.support.test.runner.AndroidJUnitRunner"

    }
    buildTypes {
        release {
            minifyEnabled false
            proguardFiles getDefaultProguardFile('proguard-android.txt'), 'proguard-rules.pro'
        }
    }
}

dependencies {
    compile fileTree(dir: 'libs', include: ['*.jar'])
    androidTestCompile('com.android.support.test.espresso:espresso-core:2.2.2', {
        exclude group: 'com.android.support', module: 'support-annotations'
    })
    compile 'com.android.support:appcompat-v7:25.3.1'
    testCompile 'junit:junit:4.12'
}
//添加
publish {
    userOrg = 'xqxlibrary'
    groupId = 'acffo.xqx.xwaveviewlib'
    artifactId = 'maven'
    publishVersion = '1.0.0'
    desc = '波浪流动效果'
    website = 'https://github.com/BestCoderXQX/XWaveView'
}
logs_code_collapse">View Code
四、执行Gradlew命令语句
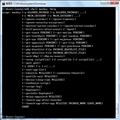
gradlew clean build bintrayUpload -PbintrayUser=a463674420 -PbintrayKey=6f5e4e11d2d253a2d4************** -PdryRun=false
解释如下:
gradlew clean build bintrayUpload
-PbintrayUser=a463674420 (这里是网站头像旁边对应的帐号,有可能跟网址上面的不一样,一定要区分好)
-PbintrayKey=6f5e4e11d2d253a2d4************** (这个是上面让大家复制保存下来的API key)
-PdryRun=false(如果是false那么就会真实提交,如果是true不会去进行真实提交,但是会编译,可以去查看是否编译通过在提交)
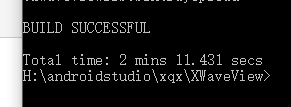
执行到SUCCESSFUL 即表示成功了。
五、提交审核
找到建的组织下的仓库 , 会发现 多了一个package
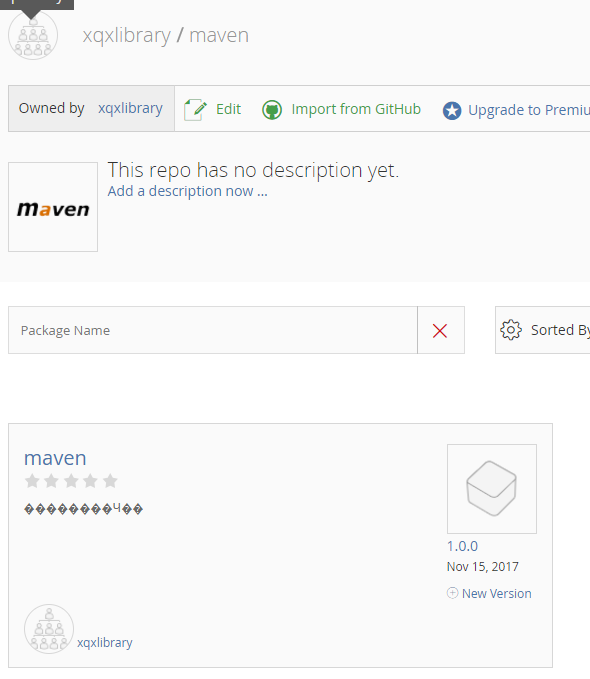
点击进入 ,点击右侧的"Add to JCenter"即可提交审核 ,用的时候点击左下侧的'Gradle'即可